How to set up Video Optimizer to capture Android traces on your Macintosh computer

Video Optimizer is an industry leading tool for analyzing the performance of your mobile apps – both iOS and Android. Last month we published a Mac setup video, with step-by-step instructions on how to obtain iOS device traces. However, the Mac version of Video Optimizer can also obtain Android device traces. So this month we’ve added a follow up video with a step-by-step walk through showing how to set up your Mac to obtain Android traces.
Note: This video assumes you have already completed the initial Mac setup of Video Optimizer and can successfully obtain iOS traces. For quick viewing each of the images below is a hyperlink where I have queued sections of the video to the step shown. To view the complete video, use this link:
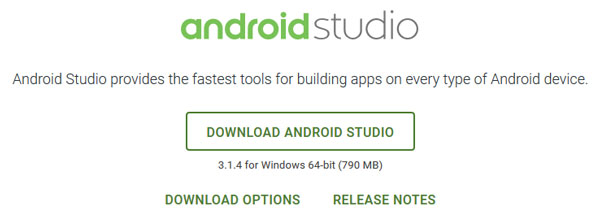
1. Download Android Studio
The complete Video Optimizer setup instructions for Mac OSX are in section 4 of the Video Optimizer docs page. In the Mac OSX setup video, we skipped steps 8, 10 & 11, which are all specific to capturing Android traces.
Continuing with step 8, we need to download and install the Android SDK platform tools.
Please be aware that the Android Studio download and installation can be a lengthy process which we have sped up for the video walk-through.
2. Run Android Studio
Once Android Studio is downloaded and installed, you need to open it in order for it to complete the download of all the components Video Optimizer utilizes. Specifically, the adb.exe is not downloaded until you run Android Studio the first time.
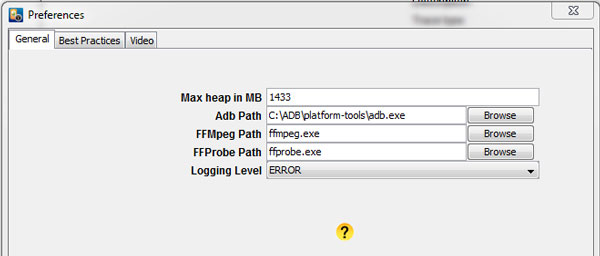
3. Open Video Optimizer and set the adb path
This simple step is frequently overlooked in the installation process. If left out, Video Optimizer will not be able to see your connected device. The abd path is set under File>Preferences.
4. Set up your Android device for USB debugging
The last step for Android configuration is to turn on USB debugging under the Developer Options settings. First you will need to enable the Developer Options. Under Applications>Settings you should see “About Device.” Under that menu you will see “Build Number.” Tap on “Build Number” 5 times and Android tells you “You are now a Developer.”
Once you are a Developer, there should be a new menu at the bottom of the “Settings” menu called “Developer Options”. Click on “Developer Options” and in the “Debugging” section you should see a slider to turn on and off “USB debugging”. Turn on “USB debugging”.
You are now ready to use Video Optimizer to collect Android traces.
5. Trace collection
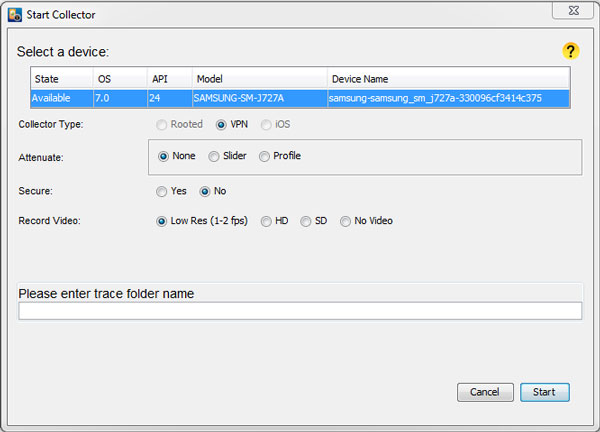
Start Video Optimizer (if it isn’t already running) and under the “Data Collector” menu select “Start Collector”. Check you device for a pop-up message like “Allow Access to Data” or “Allow USB debugging” and click OK. Video Optimizer should see your device and give you options to Attenuate network speed, use the Secure Collector, set the captured video quality and name your trace folder:
Once you have made your selections and named the trace folder, click “Start” to start the trace. Perform whatever device activity you want to capture, then stop the trace under the “Data Collector” menu, or by clicking “Stop” at the bottom of the video window:

Congratulations! Your Mac is now configured to capture Android traces. Good luck testing, and please leave us comments letting us know if this walk-through was helpful.


