How to set up Video Optimizers on your Windows 10 computer
Video Optimizer is a great tool to help analyze the performance of your mobile apps and understand how they handle video & audio. Last year Microsoft discontinued support for the Windows 7 OS, so we have had to discontinue support for Video Optimizer on Windows 7 machines. This month we decided we needed to create a new video showing a step-by-step walk through of installing Video Optimizer and all its prerequisites on a Windows 10 machine.
Note: The video is one complete walkthrough, but I have queued sections of the video that correspond to each installation step for quick viewing. Each image below is a hyperlink to a specific section. The full video can be seen here:
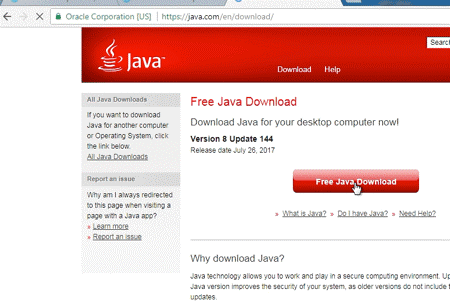
1. Install Java
Before I can install Video Optimizer, I must install Java. The video shows a clean install.
If you are not on a brand new machine, it is best to first check whether you have a version of Java already installed. If you do, open that and do an update of your existing version rather than attempting a new install. Simply go to the search button or the Start menu and type “Java” to quickly see if it is already installed, and if so, to check for updates.
2. Get Video Optimizer
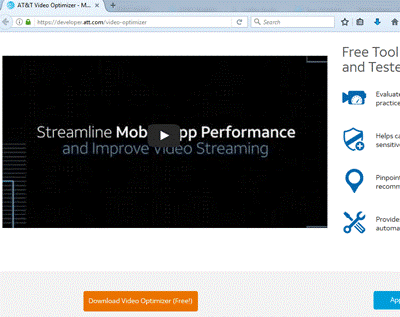
Once I have Java installed, I go to the AT&T Developer Program website: https://developer.att.com/video-optimizer and download the free Video Optimizer tool. The install steps are similar to any application install: accept the terms and conditions, and specifying the location of the install. I used the default settings.
3. Install Wireshark
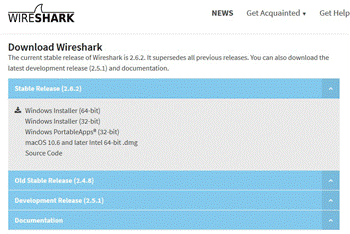
There are several additional applications that Video Optimizer utilizes to perform the analysis of your applications. The first of these is Wireshark and the included Npcap utility. Note that when the Npcap part of the installation begins, you must Manually select ”WinPcap API-compatible Mode” for the installation.
4. Install FFMPEG
The next prerequisite you need to install is FFMPEG.
5. Install VLC
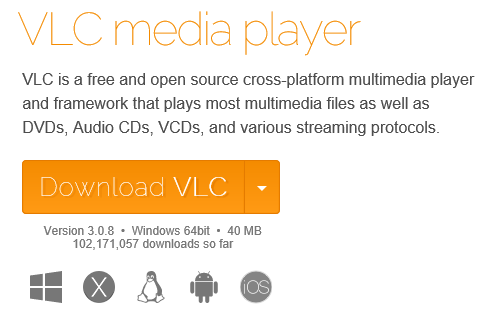
The next prerequisite you need to install is VLC Media Player.
6. Install Android SDK platform tools.
The final prerequisite you need to install is the Android SDK platform tools, specifically ADB. If you already have Android Studio installed, then you already have ADB and will just need to point Video Optimizer to the adb.exe file.
Download complete the installations of these apps using the URLs above, and use the standard installations.

7. Update your Windows path
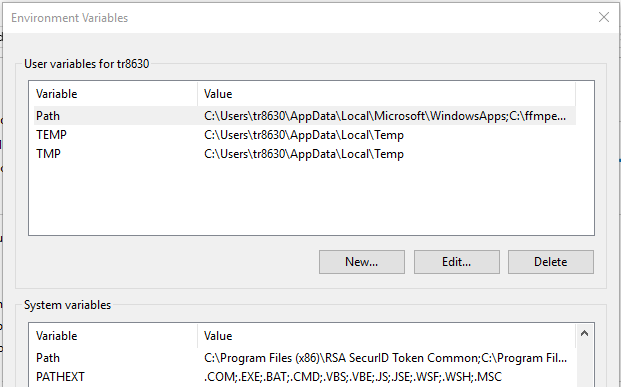
For FFMPEG, VLC and ADB to be used, you must set environmental variables for them. Under the Control Panel’s “Advanced Systems” settings, create new paths to adb.exe, ffmpeg.exe and the VLC\plugins folder.
8. Open Video Optimizer and set the adb path
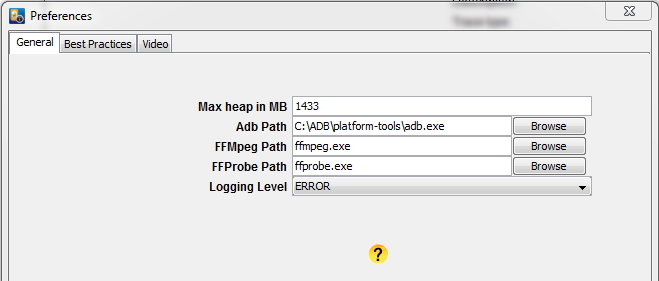
This simple step is frequently overlooked in the installation process. If left out, Video Optimizer will not be able to see your connected device. The abd path is set under File>Preferences.
9. Set up your Android device for USB debugging
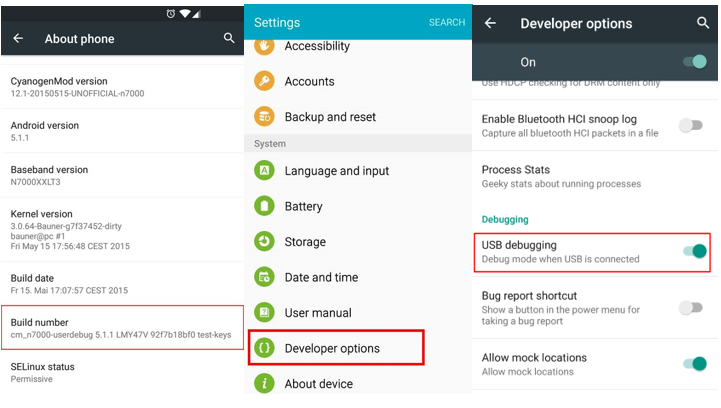
The last step for Android configuration is to turn on USB debugging under the Developer Options settings. First you will need to enable the Developer Options. Under Applications>Settings you should see “About Device.” Under that menu you will see “Build Number.” Tap on “Build Number” 5 times and Android tells you “You are now a Developer.”
Once you are a Developer, there should be a new menu at the bottom of the “Settings” menu called “Developer Options”. Click on “Developer Options” and in the “Debugging” section you should see a slider to turn on and off “USB debugging”. Turn on “USB debugging”.
You are now ready to use Video Optimizer to collect Android traces.
[Please note: this step is included in a different video than the other steps]:
10. Trace collection
Connect your device to your computer. When asked, let the device trust your computer and allow the computer to install any drivers needed for your device.
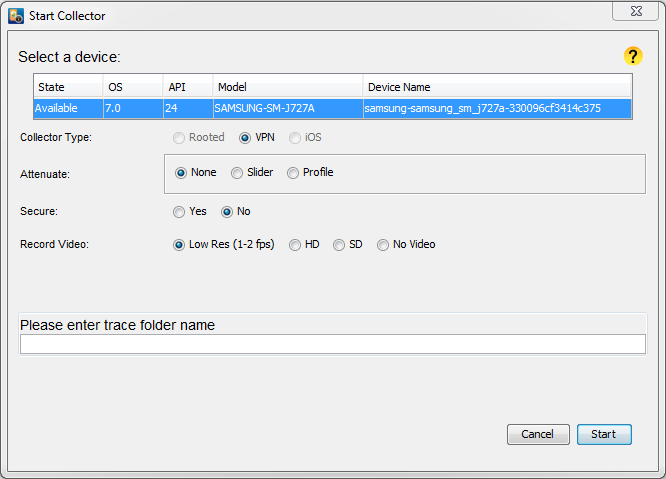
Start Video Optimizer (if it isn’t already running) and under the “Data Collector” menu select “Start Collector”. Check your device for a pop-up message like “Allow Access to Data” or “Allow USB debugging” and click OK. Video Optimizer should see your device and give you options to Attenuate network speed, use the Secure Collector, set the captured video quality and name your trace folder:
Once you have made your selections and named the trace folder, click “Start” to start the trace. Perform whatever device activity you want to capture, then stop the trace under the “Data Collector” menu, or by clicking “Stop” at the bottom of the video window:

Congratulations! Your Windows 10 system is now configured to run Video Optimizer and capture Android traces. Good luck testing, and please leave us comments letting us know if this walk-through was helpful.
